Why Photos Show Up Sideways After You Upload Them (and How to Fix It for Good)
A photo looks right on your phone and sideways on a website. The cause is a single orientation tag. Here is how it works, and how to make the rotation permanent so it displays correctly everywhere.

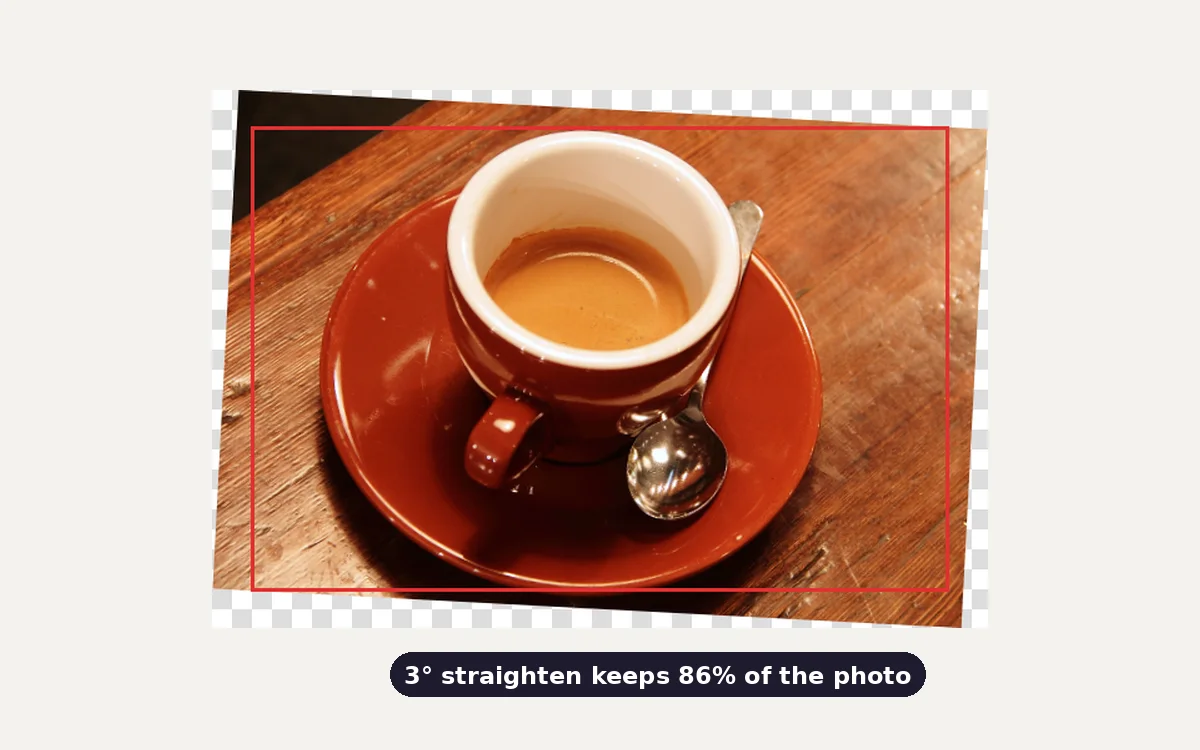
Photo by Nguyễn Tiến Thịnh on Pexels.
You take a portrait photo, it looks perfect in your gallery, and then it shows up sideways in a web form, an online shop listing or an older piece of software. The photo isn't broken. Two programs disagree about which way is up.
How cameras store rotation
A camera sensor has a fixed shape, usually wider than it is tall. When you hold the phone upright, the camera often doesn't rotate the pixels. It saves the image as it came off the sensor and adds a small orientation tag to the file's EXIF metadata, saying something like "display this rotated 90° clockwise".
Rotating millions of pixels takes time and, for JPEGs, can cost quality. Writing one tag is instant. So the tag became the standard.
The tag has eight possible values:
| Value | Meaning |
|---|---|
| 1 | Already upright |
| 2 | Mirrored left to right |
| 3 | Rotated 180° |
| 4 | Mirrored top to bottom |
| 5 | Mirrored and rotated 90° counter-clockwise |
| 6 | Rotated 90° clockwise |
| 7 | Mirrored and rotated 90° clockwise |
| 8 | Rotated 90° counter-clockwise |
Phone portrait photos usually have value 6. Values 2, 4, 5 and 7 involve mirroring and are rare, mostly from front cameras and some editing apps.
Why it goes wrong
The tag only works if the software showing the image reads it and obeys it.
- Your phone gallery and modern browsers read the tag. Since 2020, Chrome, Firefox and Safari all apply it by default, so the image looks upright.
- Some upload systems, older software and image libraries ignore the tag. They show the stored pixels as they are, which are sideways.
- Some servers remove metadata without rotating the pixels. This is the most common cause. The website strips EXIF for privacy or to save space, but the tag that held the rotation goes with it. The result is a sideways image that no browser can fix, because the information is gone.
That is why the same photo can look right in your gallery, right when you preview it in a browser, and wrong once the website processes it.
What we observed in a browser
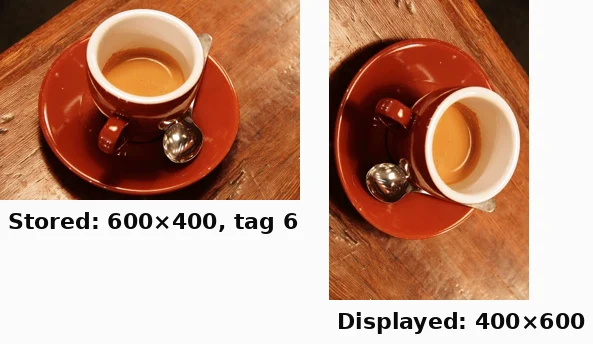
We made a test JPEG stored as 600 × 400 landscape pixels with orientation tag 6, plus camera, time and GPS tags, and opened it in Chromium 141:
- The image loaded as 400 × 600 and displayed upright. CSS's image-orientation property defaulted to from-image, which tells the browser to follow the tag.
- Drawn to a canvas, it stayed upright, so canvas-based tools work with the corrected pixels.
- Saved from the canvas as JPEG, WebP and PNG, every file was 400 × 600, upright, and contained no EXIF at all: no tag left to misread.
The permanent fix: rotate the pixels
The reliable solution is to make the stored pixels upright and remove the need for a tag:
- Open the photo in a tool that respects the orientation tag when it loads the image.
- Save a new file. The tool writes the upright pixels and either removes the tag or sets it to 1.
Once the pixels are upright, every program shows the image correctly, whether it reads EXIF or not.
When imgstools opens an image, your browser applies the orientation tag, so you see the photo the right way up. The new file it saves contains the pixels exactly as you see them, with no orientation tag. Running a photo through any of the tools fixes the problem permanently. If the photo was also taken at the wrong angle, use the rotate tool to turn it 90° left or right, or flip it, before saving.
If the photo still looks wrong
- It looks correct on your computer but wrong after upload: the site is ignoring or stripping the tag. Upload a version with rotated pixels, as described above.
- It looks sideways even on your own computer: the pixels are sideways and there is no tag, or the tag is wrong. Rotate it by hand in the rotate tool and save.
- Text in the image reads backwards: the image is mirrored, which is common with front-camera selfies. Turn on Mirror image in the rotate tool.
- Rotating twice made it worse: you may have rotated it by hand in a program that also applied the tag. Go back to the original and do it once.
Mirror vs rotate: they are not the same
Rotating turns the whole picture, and everything stays readable. Mirroring (flipping) swaps left and right, so text and logos read backwards and asymmetrical faces look subtly "off" to people who know them. Use flip only to correct an image that is already mirrored. Don't use it as a way to change direction.
Avoid quality loss when you rotate
Rotating and re-saving a JPEG re-compresses it. One save at a good quality setting is fine. Repeated rotate-and-save rounds add up. Our JPEG re-saving test measured this. The imgstools rotate tool keeps your original format and saves JPEG and WebP at a high quality setting (0.92), so a single rotation is not visibly lossy.
90° turns don't lose anything
Turning by exactly 90° moves every pixel onto another pixel, so nothing has to be blended, and the rotate tool turns smoothing off for right angles. We rotated a photo by 90° four times in a row, saving a PNG each time, and the result was pixel-for-pixel identical to the original. Rotating by 180° also gave exactly the same pixels as flipping both horizontally and vertically. Small angles like 3° are different, because every pixel has to be interpolated. Our straightening guide measures that cost.
Summary
- Phones often store photos sideways and add an orientation tag to correct them.
- Browsers read the tag. Some websites ignore it or strip it, which leaves the photo sideways.
- The permanent fix is to save a copy with upright pixels, so the tag is no longer needed.
Keep exploring